
Add a new basic process
Here's how to make your first basic process in Robotiq.ai. This guide shows you how to set up a simple process and check if your development robot is working.
What You'll Need
- Access to at least one department. If you don't have access, ask your administrator.
- A Robotiq.ai Development Robot installed.
How to Create a Basic Process
Follow these steps to make and test a new process.
Step 1: Create a New Process
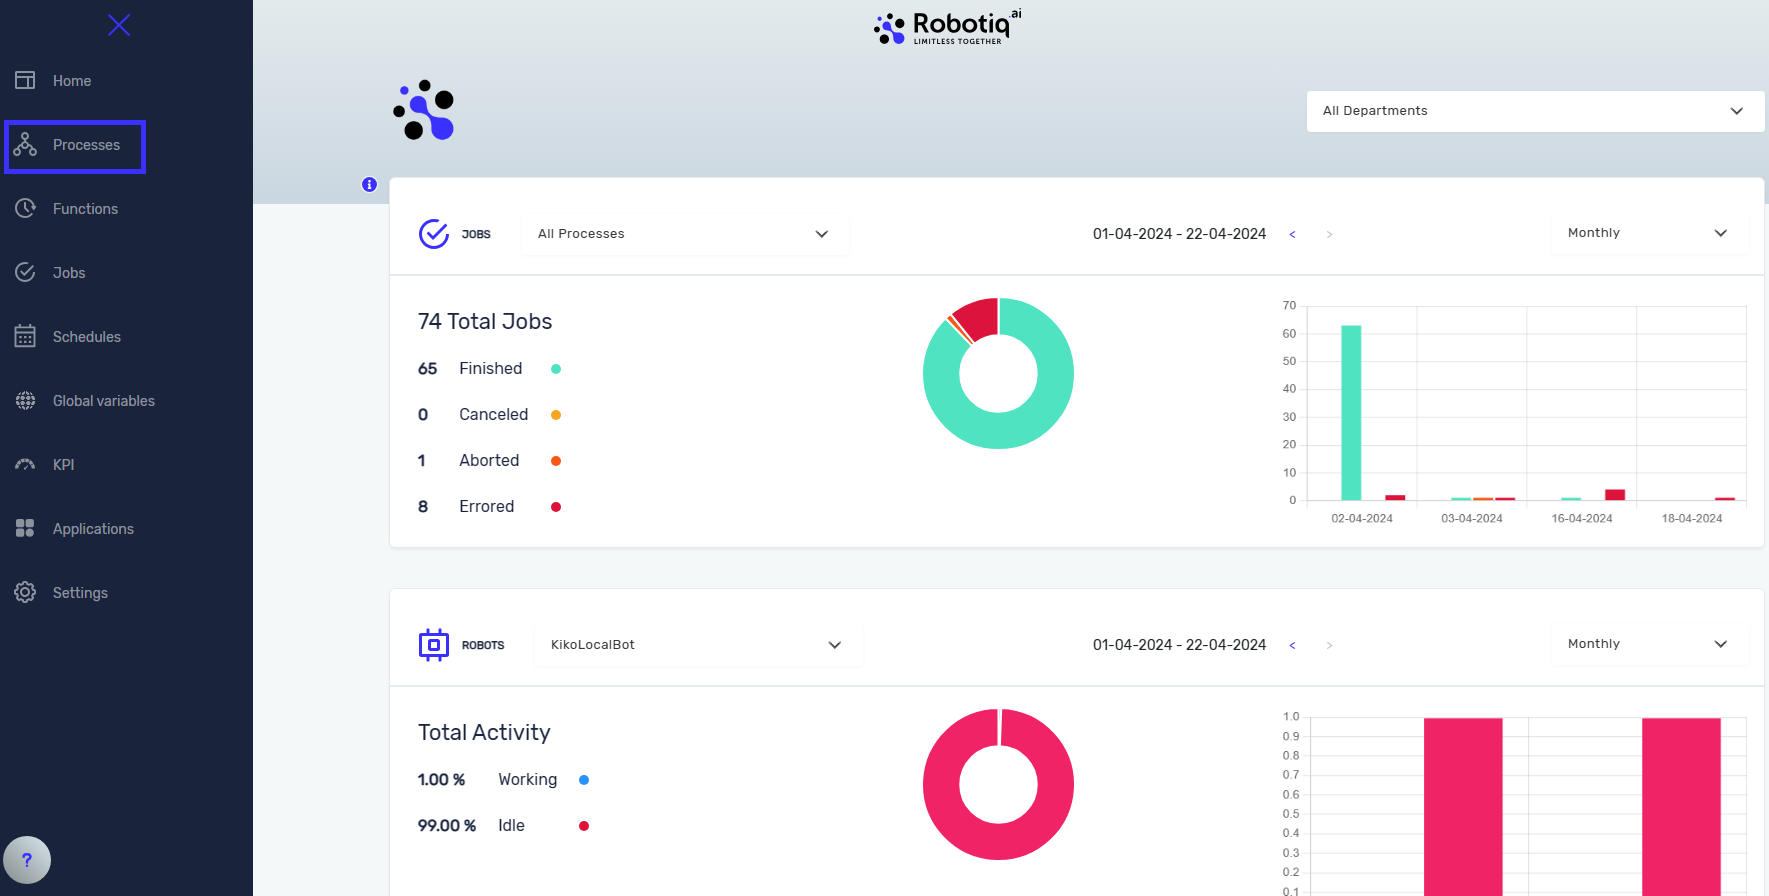
- From the menu on the left, click Processes.
- Click the + button.
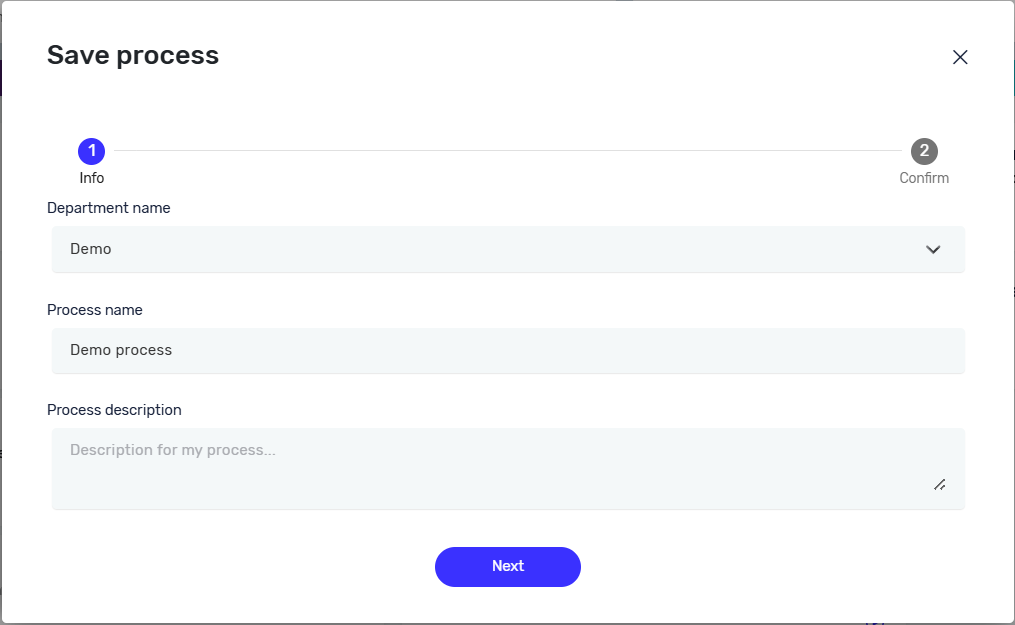
- In the new window, type a Process Name.
- Pick a Department from the list.
- Click Create.

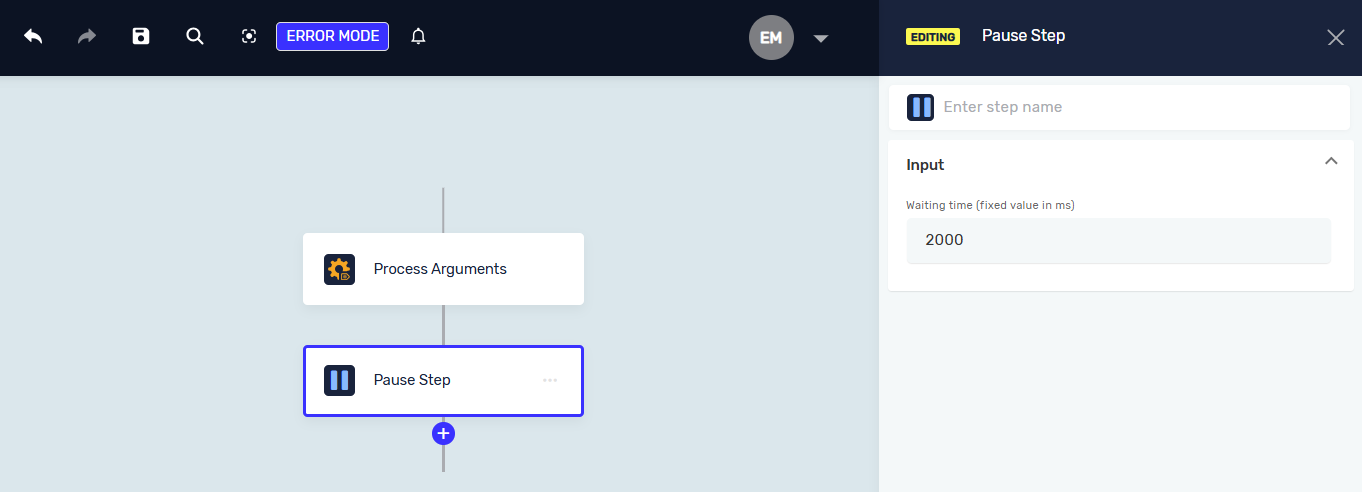
Step 2: Add a Pause Step
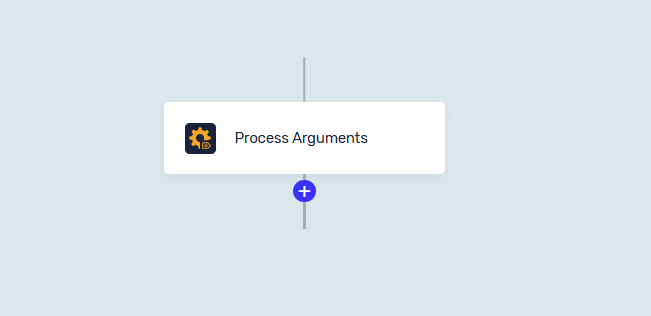
- In the new process window, click the + button.
- Choose Step.
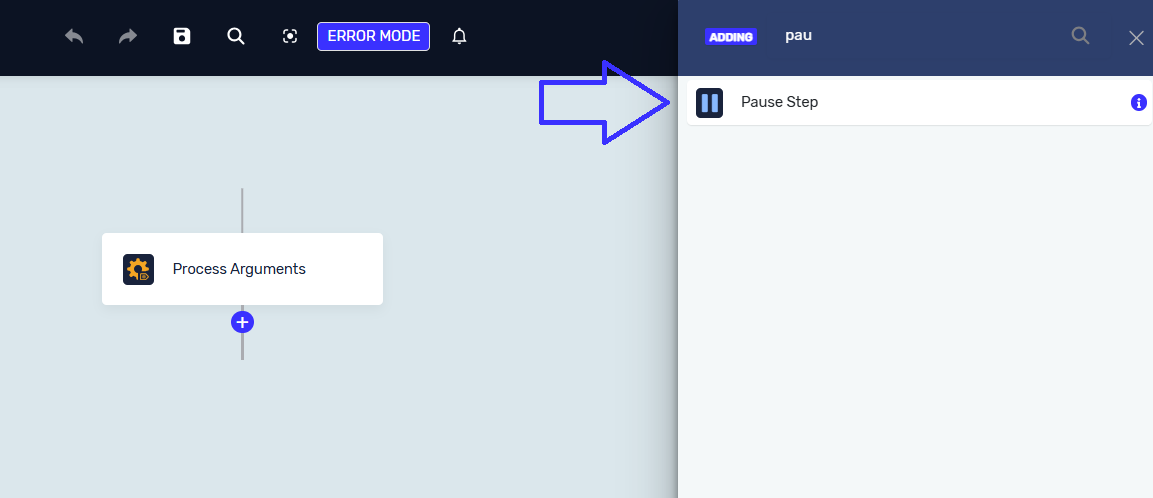
- In the Search step field, type ""pause"".
- Pick Pause Step from the results.
- In the Step Information panel, type ""2000"" in the value field. This makes the process pause for 2000 milliseconds (2 seconds).

Step 3: Save the Process
- Click the Save button in the top right corner.
- You can also press
Ctrl+S.
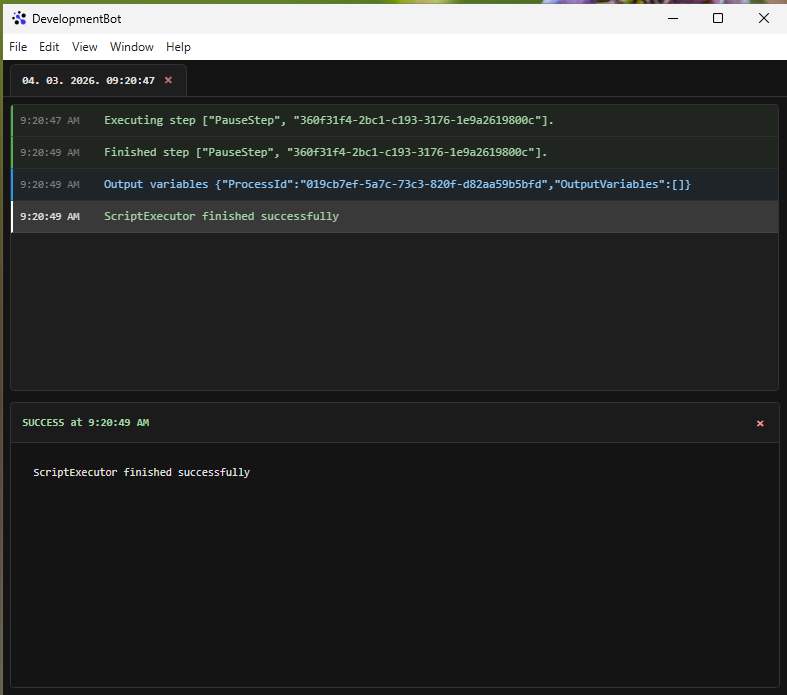
Step 4: Test the Process
- Make sure your Development Robot is running. If you haven't installed it, see Download development robot - Robotiq.ai Help Center.
- Click the Play button or press
F5to run the process on your local robot. - DevelopmentBot window will open. If you see a ""Process finished successfully"" message, your robot is working right.
Process Options and Shortcuts
After you save a process, more options become available.
Keyboard Shortcuts
Ctrl+S: Save processCtrl+Z: Undo last actionCtrl+Y: Redo last actionF5: Run process on a local robotCtrl+M: Promote processCtrl+P: Publish processCtrl+O: Show process outputCtrl+D: Download processCtrl+U: Upload processCtrl+R: Show variable viewerCtrl+E: Exception modeF2: Show notification
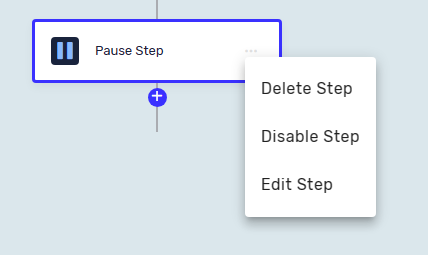
Step Options
You can change or manage steps using the available options.
- Right-click on a step or click the three dots in its top-right corner.
- Pick an option from the menu.
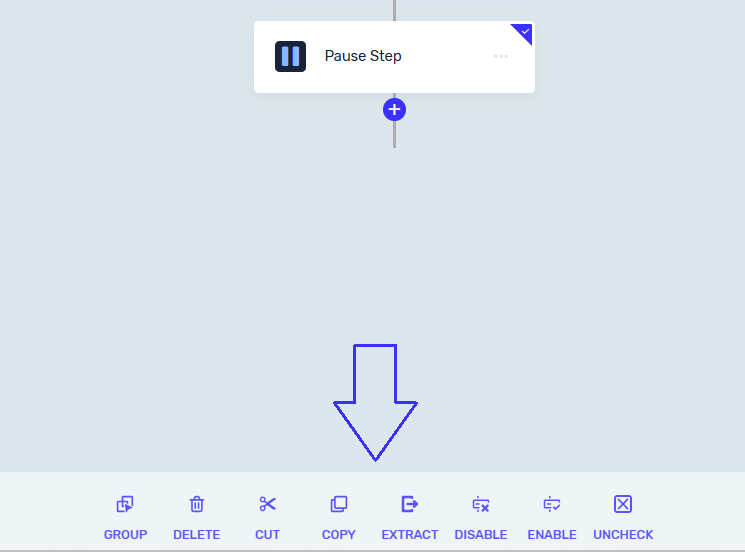
Available options include:
- Edit Step
- Group steps
- Delete steps
- Cut steps
- Copy steps
- Extract to function
- Uncheck all steps
- Disable steps
- Enable steps
Note: You can use these options on many steps at once. Select the first and last steps, and Robotiq.ai will automatically select the steps in between.
Zooming In and Out
Use the controls in the bottom right corner of the process editor to change the zoom:
- Click + to zoom in.
- Click - to zoom out.
- Click the last icon to set the zoom back to 100%.
Related Articles
- Pause Step - Robotiq.ai Help Center
- Download development robot - Robotiq.ai Help Center
- Processes - Robotiq.ai Help Center
Need Help?
Can't find what you're looking for? Join the Robotiq Community to get help from other users and the Robotiq team."