
Installation unattended robot
An unattended robot runs automated processes without human help. You can install one on a virtual machine (VM) to run tasks in the background.
What You'll Need
- Access to Robotiq.ai Headquarters (HQ)
- A virtual machine (VM)
- Administrator rights on the VM
- Secure Sign-In (Ctrl + Alt + Delete) turned off on the VM
How to Install an Unattended Robot
Step 1: Prepare Your Virtual Machine
- Turn off Secure Sign-In (Ctrl + Alt + Delete) on your robot VM.
- Restart the VM after turning off Secure Sign-In.
- Check that your VM meets the Robotiq.ai VM requirements.
Step 2: Download the Robot Installer
- Log in to Robotiq.ai HQ.
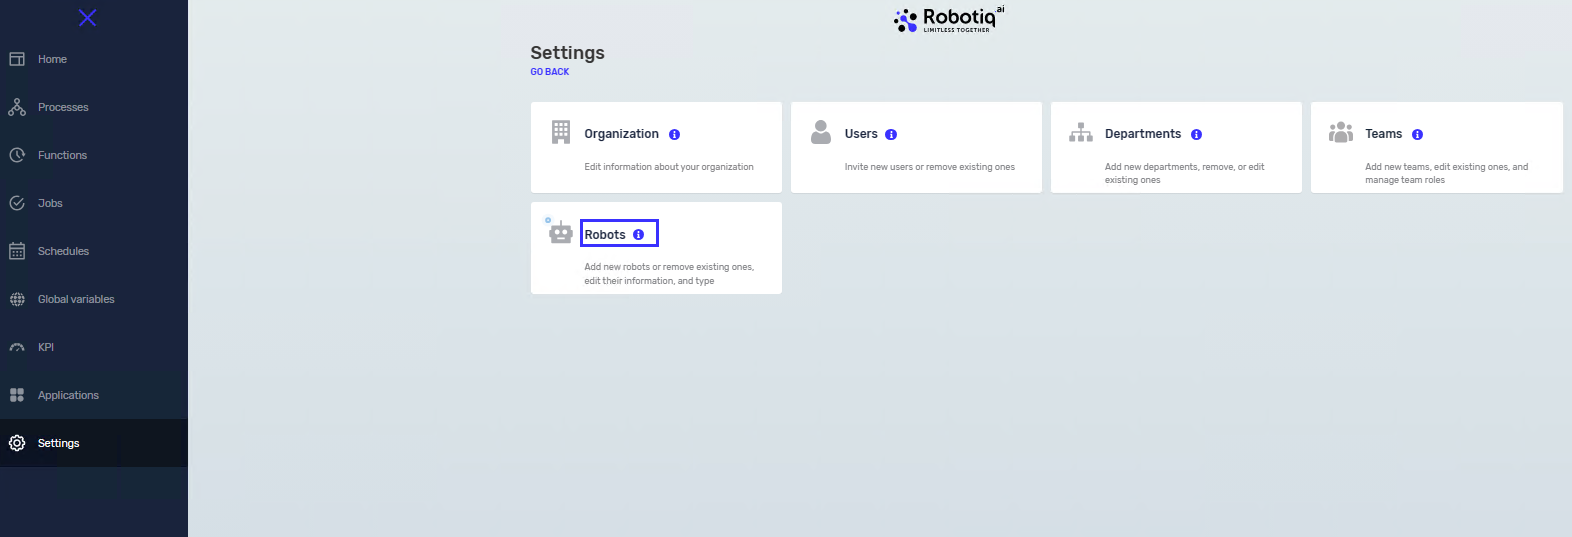
- In the left menu, click Settings.
- Click Robots.
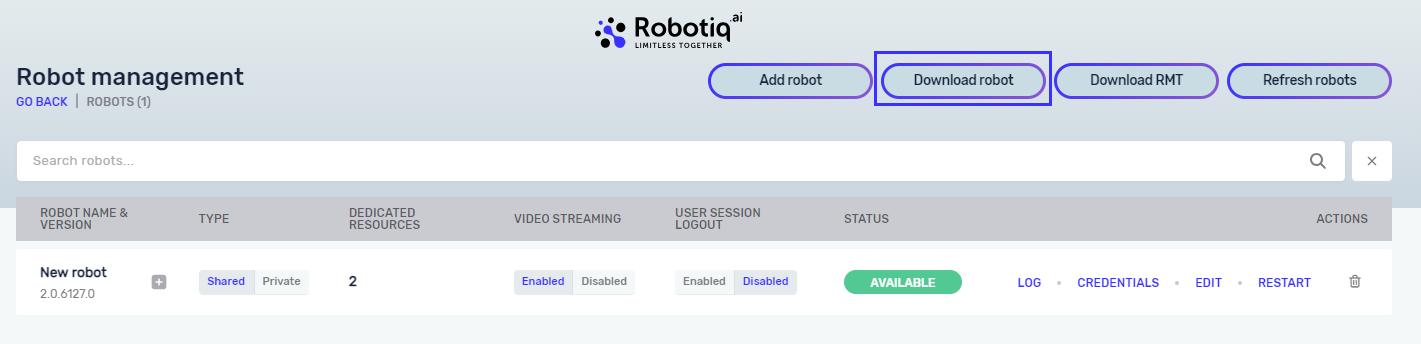
- Click the Download robot button.
- This download might take a few minutes.
- Robotiq.ai suggests using the Chrome browser for the download.
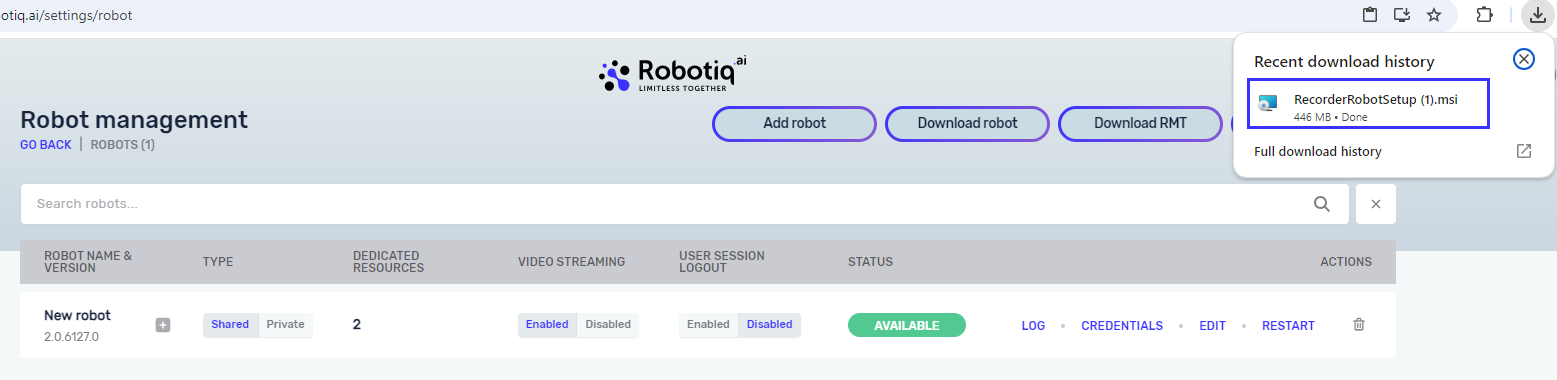
- If you have trouble opening the
.msifile from your browser's recent downloads, look for it in your Windows user downloads folder (for example,C:\Users\{Username}\Downloads\).
Important: If you have an older robot installation, uninstall it before you continue.
Step 3: Start the Installation Wizard
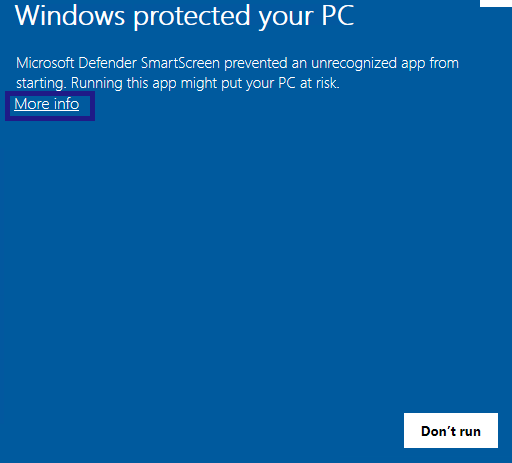
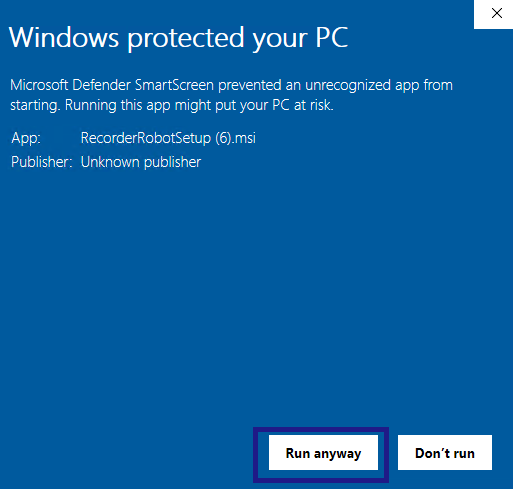
- Double-click the downloaded
.msifile to open the installation wizard. - If a "Windows protected your PC" pop-up shows up, click More info, then Run anyway.
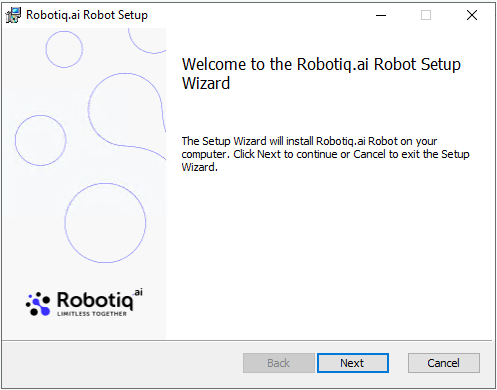
- Click Next to start the RecorderRobotSetup.msi Wizard.
- Agree to the terms in the "End-User License Agreement" and click Next.
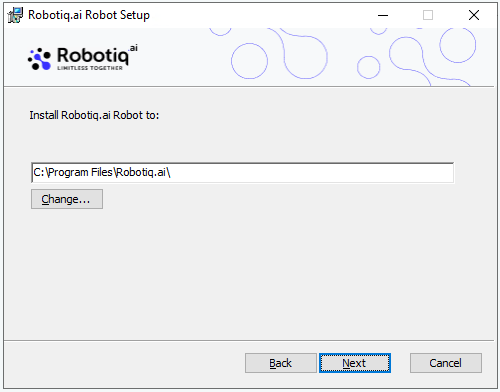
- Pick your installation folder and click Next.
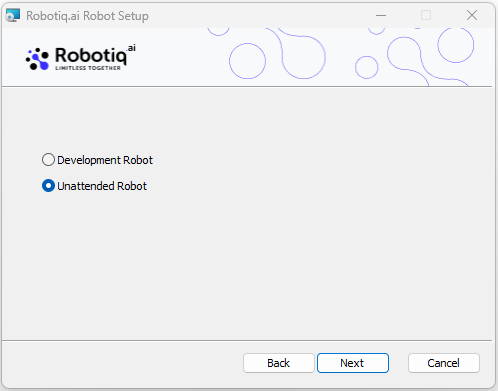
- Choose the Unattended Robot option and click Next.
Important: Don't close the Setup Wizard yet.

Step 4: Add a New Robot in HQ
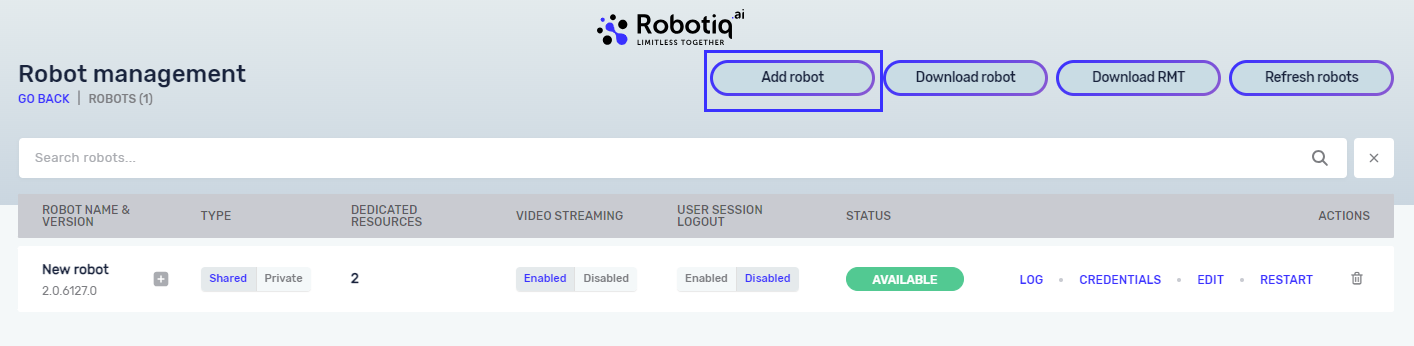
- Go back to Robotiq.ai HQ.
- In the left menu, click Settings.
- Click Robots.
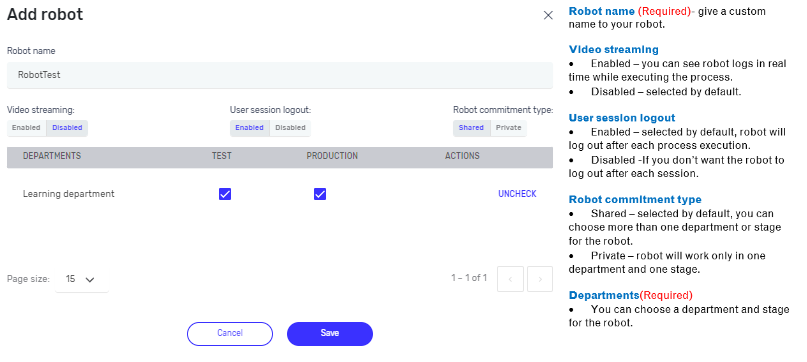
- Click the Add robot button.
- Enter the necessary information for your robot.
- Click Save.
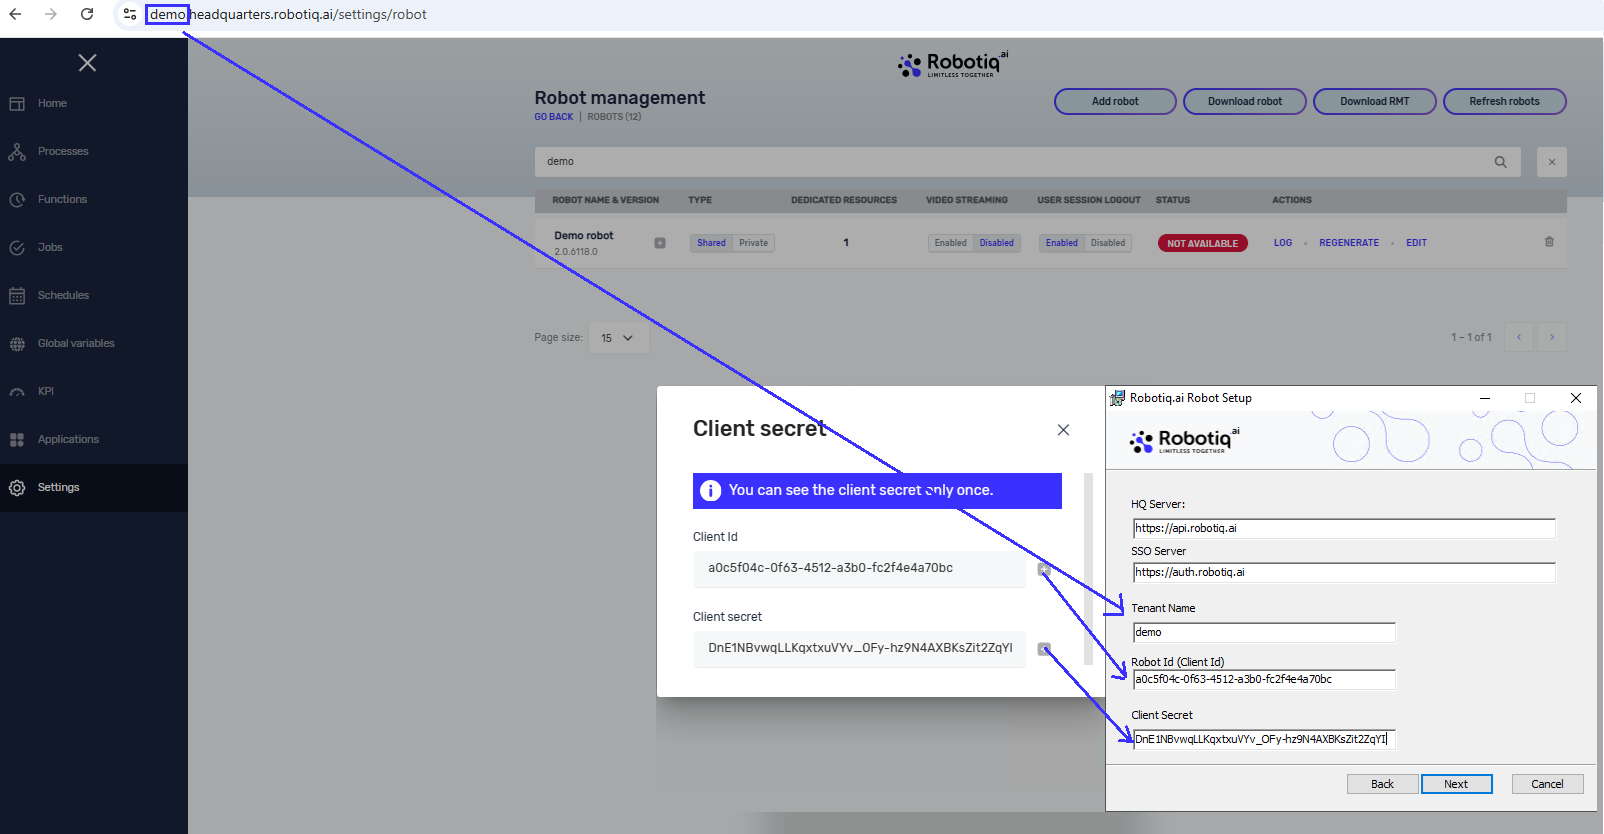
- A pop-up with Client information will appear. This has the Client ID and Client Secret you need for the Setup Wizard.
- Use the copy button next to each field to copy the information.
- The client secret works only once. If you need a new one, you can regenerate it.
Step 5: Set Up Robot Details
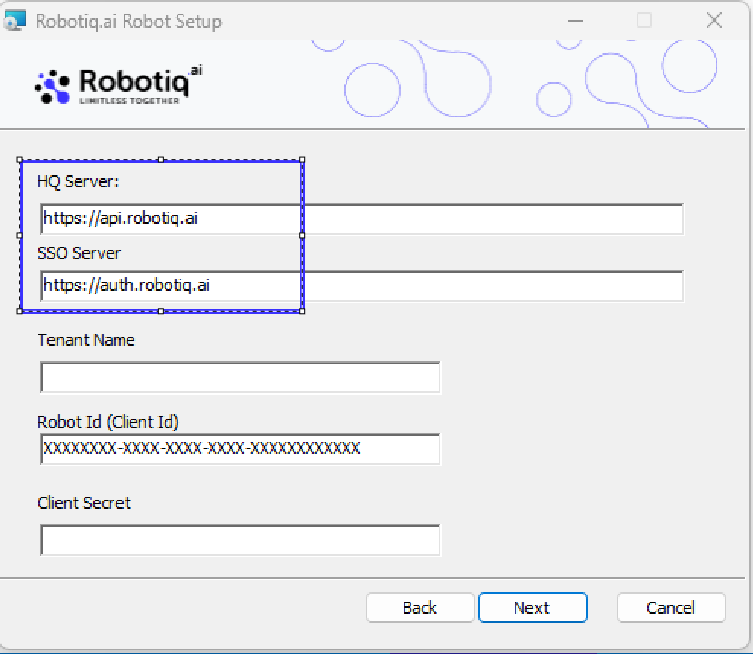
- In the new window, the "HQ Server" and "SSO Server" fields will fill in by themselves. Don't change them.
- Add the following information:
- Tenant Name: Find this in HQ by going to Settings > Tenant. Use the exact tenant name from your HQ URL (for example tenantname in
https://tenantname.headquarters.robotiq.ai/). - Client ID: You'll get this after adding a new robot in HQ.
- Client Secret: You'll get this after adding a new robot in HQ.
- Tenant Name: Find this in HQ by going to Settings > Tenant. Use the exact tenant name from your HQ URL (for example tenantname in
Important: Don't close the Setup Wizard yet.
Step 6: Finish the Installation Wizard
- Go back to the Setup Wizard.
- Fill in the Client ID and Client Secret you copied from HQ.
- Click Next.
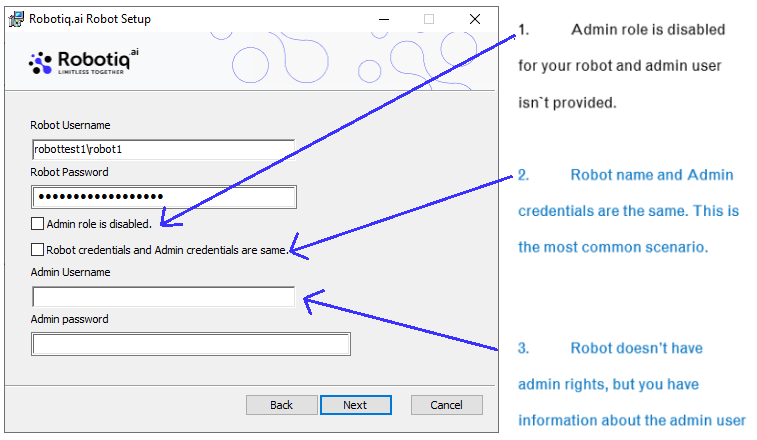
- Enter the Username and Password the robot will use to log in to the VM.
- If you use a domain for VM login (for example,
companydomain\robotUser), include the domain in the Username. - For username and password validation, please refer to the following link.
- If you use a domain for VM login (for example,
- Choose one of the three options for administrator rights. Provide admin details if needed.
- If you give an admin role, Robotiq.ai suggests installing the Robot Monitoring Tool separately. This lets you update the robot from HQ.
- Click Next.
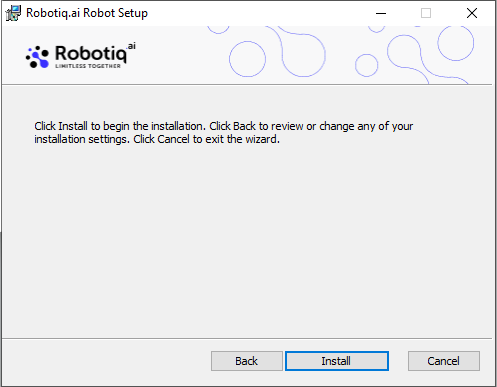
- Click Install.
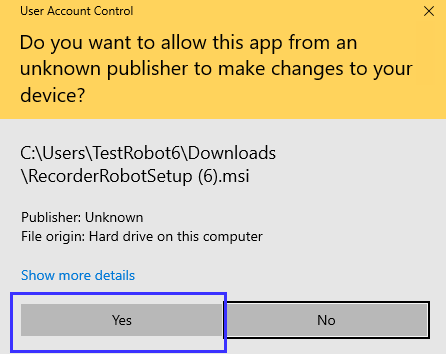
- When asked, click Yes to let the publisher make changes to your device.
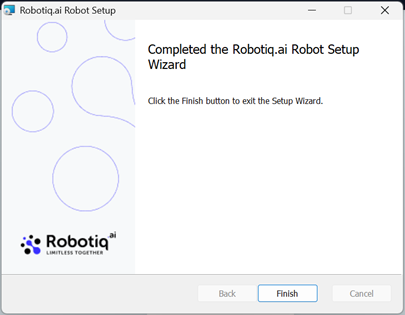
- Click Finish.
Step 7: Check the Installation
- Go to Robotiq.ai HQ.
- Check the Robots page to see if your robot is listed with the status "Available".
- If the status is "Available", you can sign out from the user session on the VM.
- If the status is not "Available", restart the VM. If the problem continues, uninstall and reinstall the robot.
- To make sure the robot is working, schedule a job to run right away (for example, a Pause Step) on a department assigned to the robot. Make sure you are logged out of the robot's VM session.
Related Articles
Need Help?
Can't find what you're looking for? Join the Robotiq Community to get help from other users and the Robotiq team.