Switch Step
The Switch Step lets you control your automation process based on a variable's value. You can set up different "cases" for specific variable values. The process then follows the steps inside the matching case.
Use this step when your process needs to go in different directions based on an input or condition.
How to Use the Switch Step
Step 1: Add the Switch Step
- Drag and drop the Switch Step into your process flow.
- A Default Case Step will automatically appear inside the Switch Step.
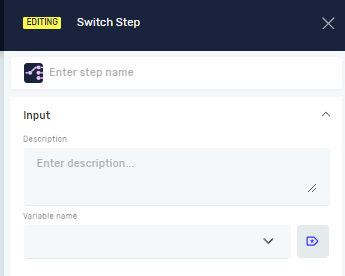
Step 2: Set up the Input Variable
- Select the Switch Step.
- In the properties panel, find the Source text variable field.
- Pick an existing variable from the dropdown menu. This variable needs to be a string or an integer.
Step 3: Add Case Steps
- Right-click on the Switch Step.
- Select Add Case Step.
- For each Case Step, type in a specific value that the Source text variable might have.
- Put the steps that should run for each specific case inside its own Case Step.
Important: The process will run the steps within the first case that matches. If no cases match, the steps inside the Default Case Step will run.
Parameters Explained
Step Name (Optional)
- A custom name for this step.
- It helps you find the step in the process editor.
Source text variable (Required)
- The variable whose value decides which case to run.
- It must be a string or an integer.
- Example: If your variable
invoiceStatuscan be "Approved", "Pending", or "Rejected", you would chooseinvoiceStatushere.
Related Articles
- Switch Default Case Step - Robotiq.ai
- Define Variable Step - Robotiq.ai
- Set Variable Value Step - Robotiq.ai
Need Help?
Can't find what you're looking for? Join the Robotiq Community to get help from other users and the Robotiq team.