Create Folder Step
The Create Folder step makes a new folder at a specific spot on your system. Use this step when your automation needs to put files in order or save new information.
How to Use Create Folder
Add this step to your process to make a new folder.
Step 1: Add the Create Folder Step
- Open your process in the Robotiq.ai Process Editor.
- Drag and drop the "Create Folder" step into your workflow.
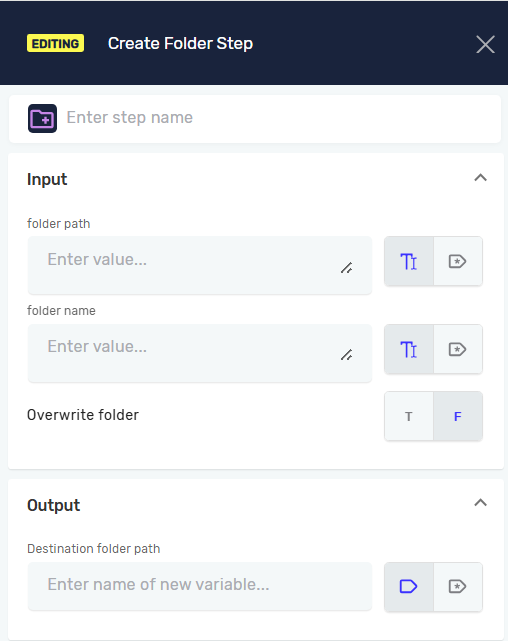
Step 2: Set Up Folder Details
- In the step properties, type in the Folder path. This is the full path where you want the new folder to go.
- Type in the Folder name. This is what you want to call the new folder.
- Choose the Overwrite folder option.
Parameters Explained
Step Name (Optional)
- A custom name for this step in your process.
- Example: "Create Output Folder"
Folder path (Required)
- The full directory path where the new folder will be made.
- You can use an existing text variable or type the path directly.
- Example:
C:\Reports\Daily
Folder name (Required)
- The name of the folder you want to make.
- You can use an existing text variable or type the name directly.
- Example:
New Data
Overwrite folder (Required)
- This setting decides if an existing folder with the same name should be replaced.
- T (True): If a folder with the same name is already at that path, it will be deleted and a new empty folder will be made.
- F (False): If a folder with the same name exists, the step will not make a new folder and will finish without changing anything. This is the default setting.
Related Articles
- Delete Folder Step: Learn how to get rid of an existing folder.
- Folder Exists Step: Check if a folder is already there before making a new one.
- Move Copy Folder Step: Move or copy folders to different places.
- Rename Folder Step: Change the name of a folder that's already there.
Need Help?
Can't find what you're looking for? Join the Robotiq Community to get help from other users and the Robotiq team.