Group
The Group step helps you organize and manage many process steps in the Process Editor. It gives you a clear look at related steps, making your automation workflows easier to understand and keep up-to-date.
How to Use the Group Step
The Group step holds other steps in your process.
Step 1: Add a Group Step
- In the Process Editor, click the Add Group Step (+) button.
- A new Group step shows up in your workflow.
Step 2: Add Steps Inside the Group
- Click the Add Group Step (+) button inside the new Group step.
- Pick the type of step you want to add (for example, If Step, While Loop).
- Set up the added step as you need.
- Add more steps to the group this way.
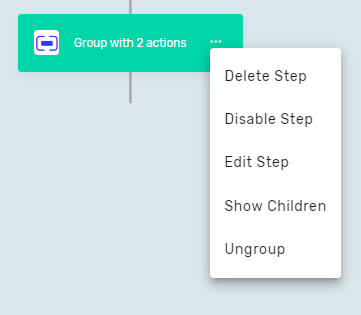
Step 3: Manage Grouped Steps
You can do a few things with a Group step:
- Delete Step: This takes out the Group step and all the steps inside it.
- Edit Step: This opens the Group step's settings so you can change its name or description.
- Hide/Show Children: This turns on or off the view of all steps inside the group. This helps make your process view simpler.
- Ungroup: This removes the Group step but keeps all the steps that were in it. These steps will then show up right in your main process flow.
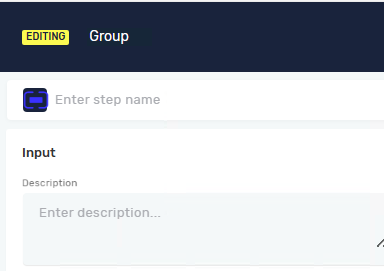
Parameters Explained
Step name (Optional)
- A custom name for the Group step.
- This name shows on the step box in the editor.
Description (Optional)
- A custom description for the Group step.
Related Articles
Need Help?
Can't find what you're looking for? Join the Robotiq Community to get help from other users and the Robotiq team.