
Record process
The Record Process feature lets you record your actions on screen. It turns these actions into steps you can use in your automation processes. This helps you quickly build automation workflows.
How to Record a Process
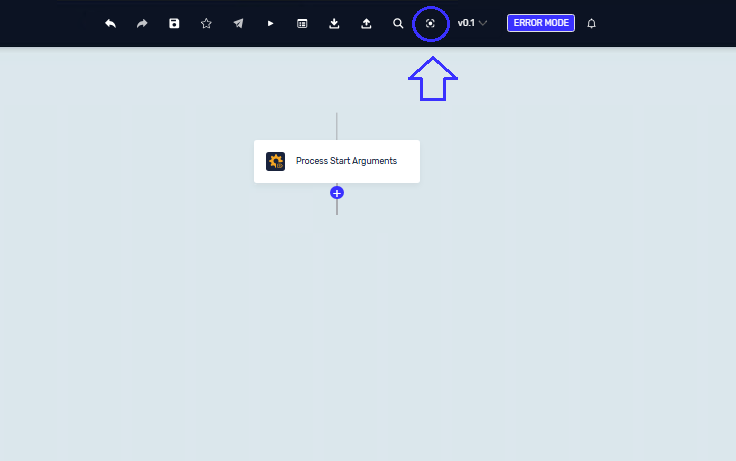
Step 1: Start the Recorder
- Click the Record button in the Process Editor.
- Or, press
Ctrl + G. - A new recorder window will open.
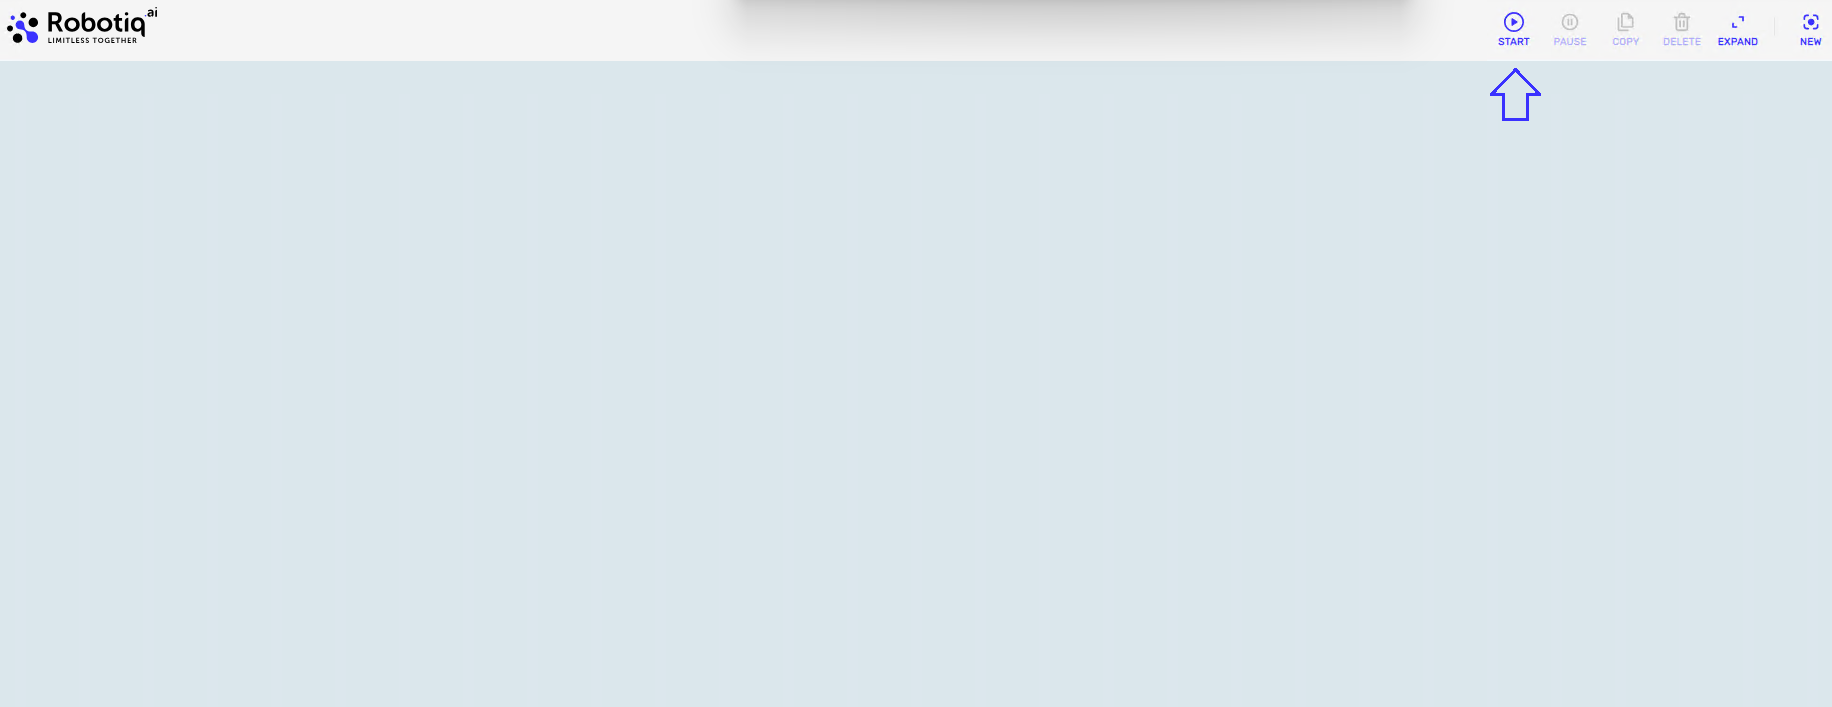
Step 2: Begin Recording
- In the new recorder window, click the Start button.
- Do the actions you want to record on your screen.
- When you finish, click the Pause button in the recorder. All your actions will save as steps.
Step 3: Edit Recorded Steps
- In the recorder, click on any step to see its details. You can use either the right or left mouse button.
- You can expand or collapse all steps using the menu tab.
- After editing, click Copy.
- Paste the steps into your Process Editor at any point in your process.
Editing Images and Steps
You can change how the robot finds things on your screen.
Change Window Screenshot
If your application has elements that change color when you focus on them, you can update the screenshot the robot uses.
- Take a new screenshot of the window before clicking on the image. This is called "Change window screenshot."
- The element to click on will update automatically.
- You can manually adjust the element if you need to.
- The element you're currently focused on shows at the bottom. The system will tell you if the robot can find this image in the screenshot.

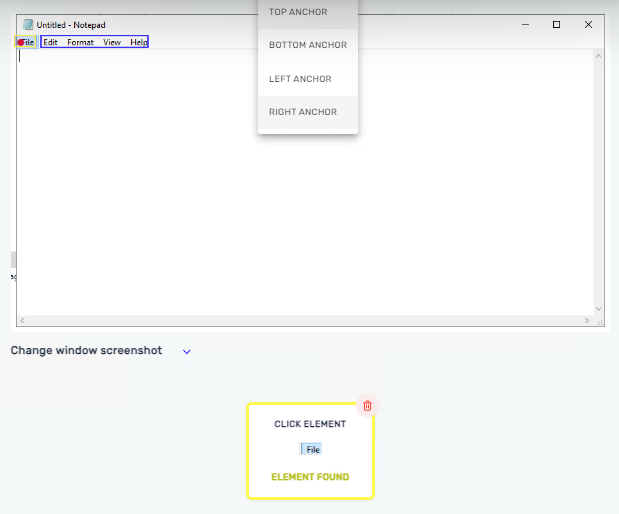
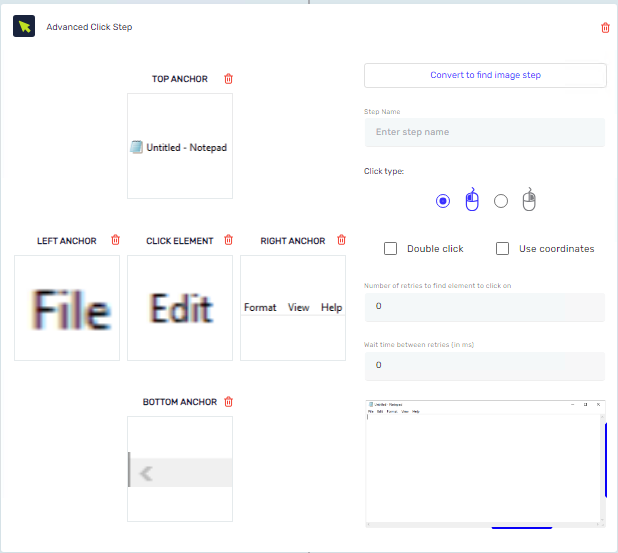
Add Anchors to Elements
You can add anchors (top, bottom, right, or left) to elements, like you would with a Snipping Tool.
- Visible elements and their anchors show up based on the anchor type order.
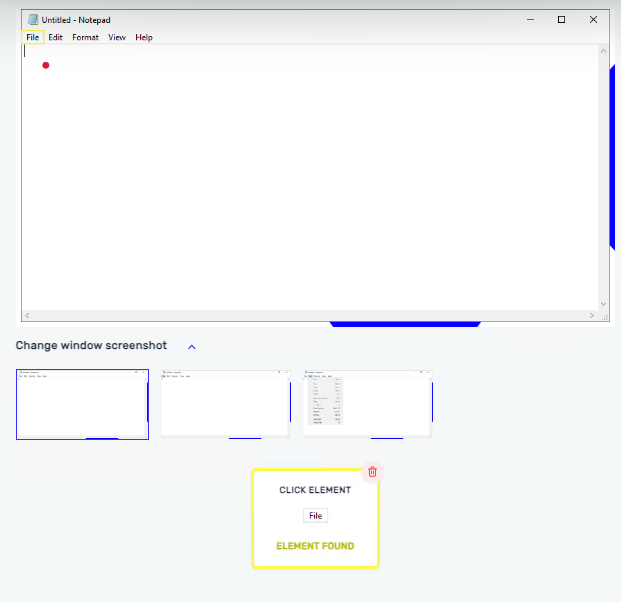
Manually Add an Image
If the recorder doesn't recognize an image, you can add it yourself.
- The recorder will show you visually that you need to add the image.
- Click on the screenshot window in your application.
- A red dot will show where you clicked.
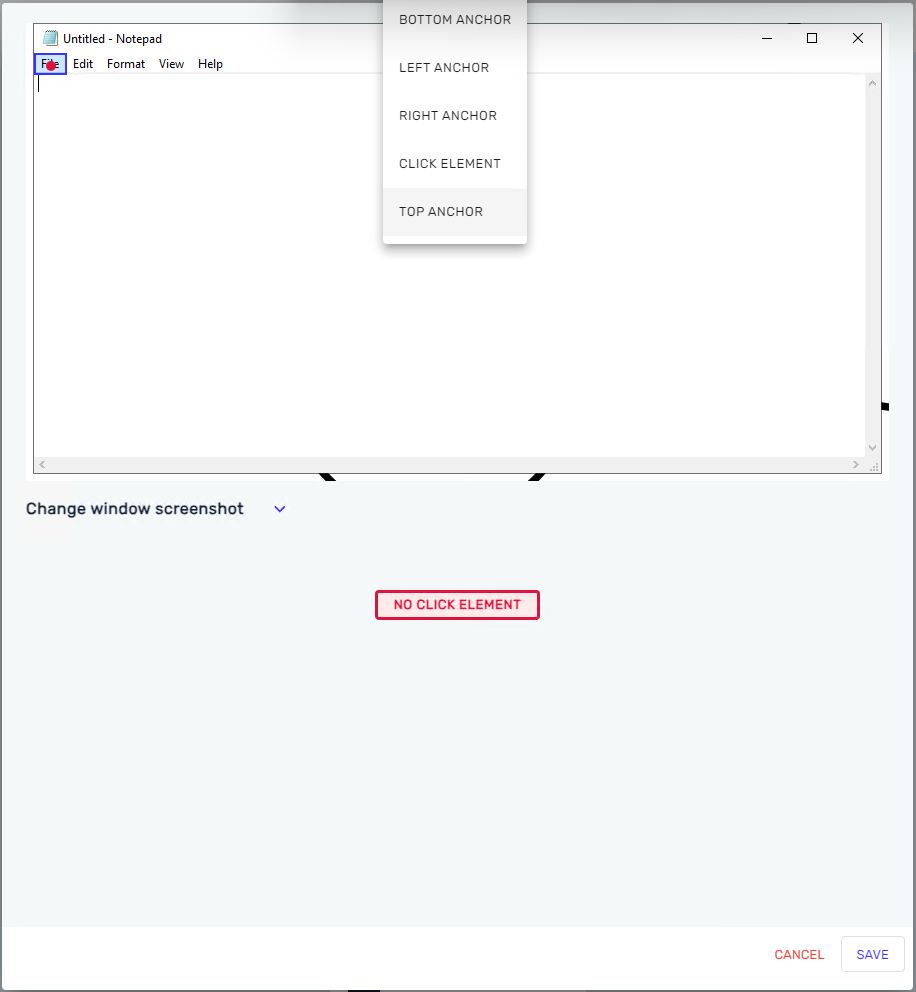
Select Elements and Anchors
- Click the top-left corner of the area you want to capture.
- Drag the cursor to the bottom-right corner.
- After cropping, choose if the image is an element or a top, left, right, or bottom anchor.
Important: When the robot runs this step, it only looks for the images you saved as elements and anchors in the current window. The window information helps you crop the exact image you need.
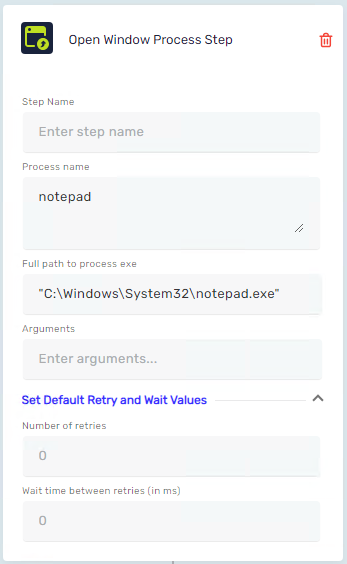
Parameters for Open Window Process
When using the Open Window Process Step, you can set up options for Advanced Click and Find Image steps.
Number of Retries
- Sets how many times the robot tries to do something if it fails.
- You can change this default value in individual Advanced Click steps and Find Image steps.
Timeout Duration Between Retries
- Sets how long the robot waits between retry attempts.
- You can change this default value in individual Advanced Click steps and Find Image steps.
Need Help?
Can't find what you're looking for? Join the Robotiq Community to get help from other users and the Robotiq team.