Job API
The Job API lets you create and schedule jobs in Robotiq.ai from other applications. This works for all robot versions.
What You'll Need
- Access to the Robotiq.ai platform.
- An application registered in Robotiq.ai with the
job_createscope.
How to Use the Job API
To use the Job API, you need to register your application. Then, you'll make two API calls: one to get an access token and another to create the job or schedule.
Step 1: Register Your Application
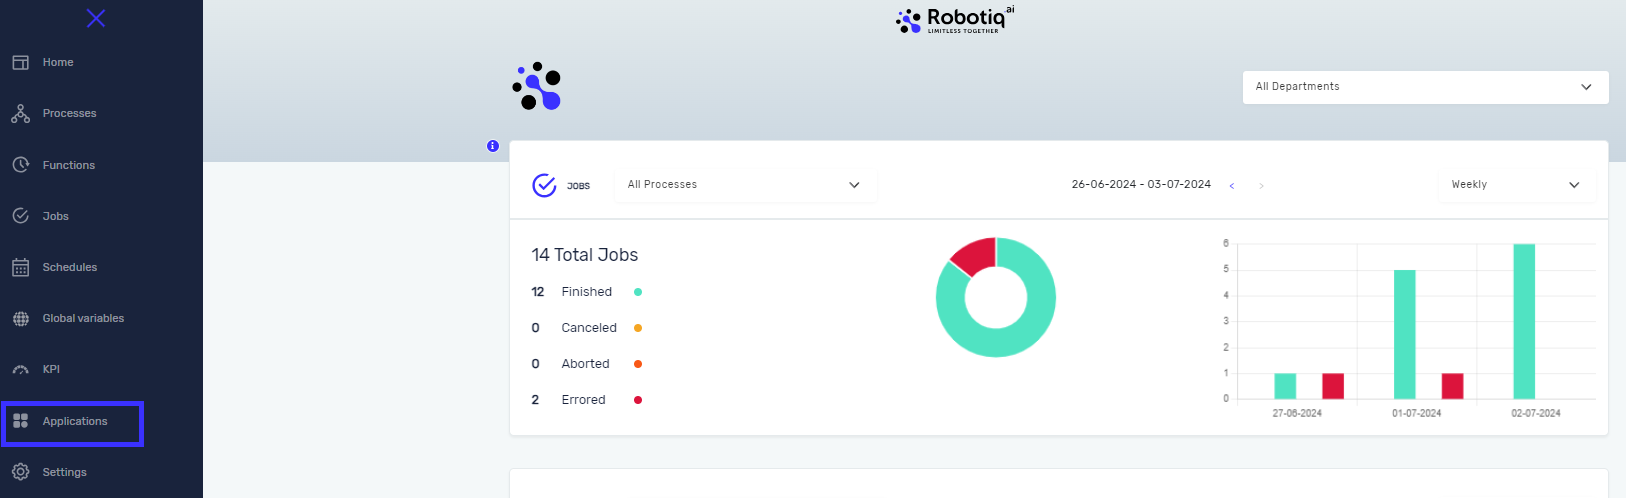
- Go to the Application menu in Robotiq.ai.
- Click the New application button.
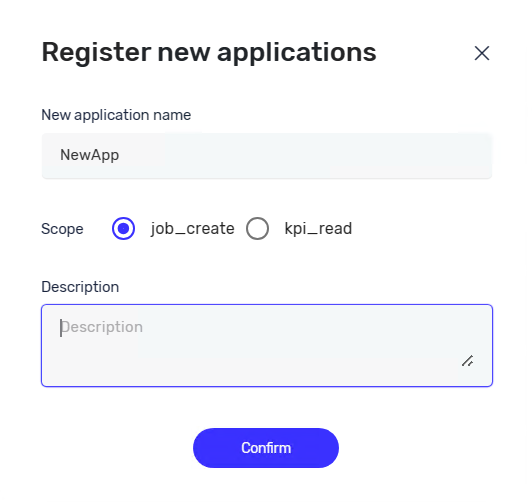
- For New application name, type a name for your application.
- Select
job_createas the scope. - Click Confirm.
For more details on registering applications, see Add new application.
Step 2: Get an Access Token
You need an access token to prove who you are when you make API calls.
- In your registered application details, click the GET ACCESS TOKEN button.
- The system will give you a client secret. Keep this private.
Important: If you need help getting an access token, check Get Access token.
Step 3: Generate the Job/Schedule Payload
Robotiq.ai can help you create the body for your API call to make a job or schedule.
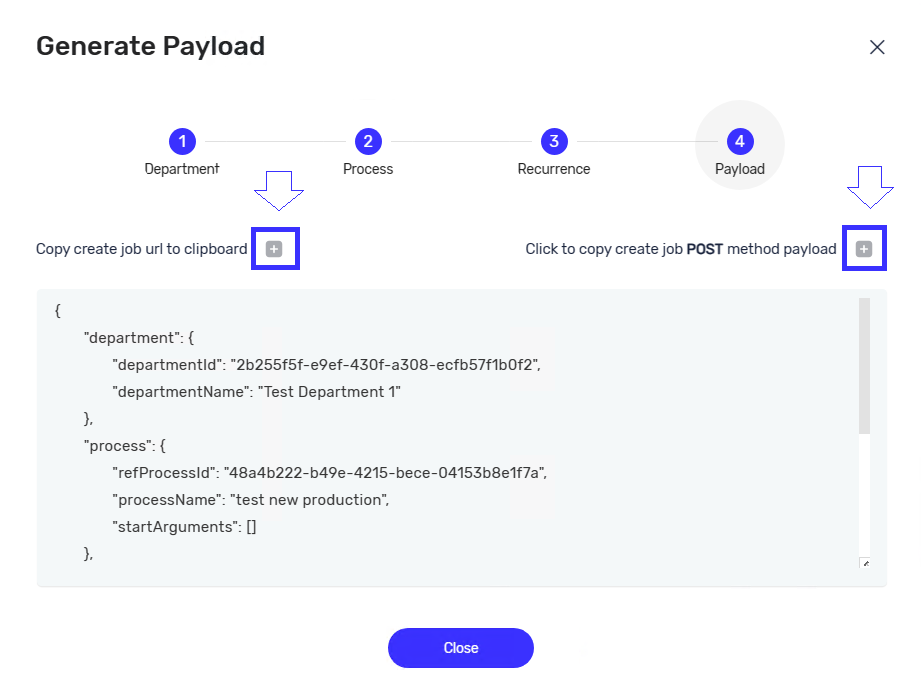
- Click the Payload button.
- Choose the department and stage for your job.
- Click NEXT.
- Give the information needed for the process and schedule.
- After the payload is made, click the + button to copy it.
- You can also copy the API URL.
Step 4: Make the API Call to Create a Job/Schedule
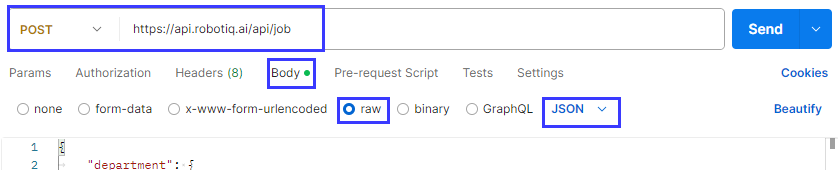
Use the payload you made and your access token to make the API call.
- Enter the Bearer Token (Authorization) you got in Step 2.
- Use the API URL and payload you copied.
- Send the API request to create your job or schedule.
Related Articles
- Add new application - Learn how to register new applications in Robotiq.ai.
- Get Access token - Instructions on getting an access token.
- Reading KPI data - Get KPI data using API calls.
Need Help?
Can't find what you're looking for? Join the Robotiq Community to get help from other users and the Robotiq team.